Bean-Less, Sunflower Seed & Black Garlic Hummus by Lindsey | Dolly and Oatmeal


i already know the question exists out there that if chickpeas aren't involved in a hummus recipe, does it even qualify as hummus?  my personal answer is yes, yes it does in fact qualify.  there are many iterations of certain recipes where i draw the line, but when you can modify a beloved food with an ingredient to slightly alter it, then i wholeheartedly think that it has a place at the table.  

i first had a sunflower hummus at one of my favorite brooklyn restaurants, vinegar hill house.  frank and i went for our birthdays one warm september night and ordered it for our appetizer.  theirs was a combination of chickpeas and sunflowers seeds, and they topped it with anise oil and roasted summer squash, but i still remember the hummus' flavor and silky smooth texture.  it's been almost 3 years since that meal, and i've thought about making a sunflower seed hummus, sans chickpeas, in that time.  a few weeks ago i pulled the trigger, and i'm so excited i did :)

first, there are few things to make this hummus the very best it can possibly be:

  1. a high-speed-blender is key to making it super smooth.
  2.  good quality tahini is also pretty crucial (i highlight a few of my favorite brands below).  
  3. if you have the time, make hummus ahead of time.  i try to plan a couple days out when i i'm going to make it, having it sit in the fridge to let the flavors meld make all the difference (in this hummus, but all other hummus recipes as well).  i prefer to eat homemade hummus 2-3 days after it was prepared, it's just that much tastier.   

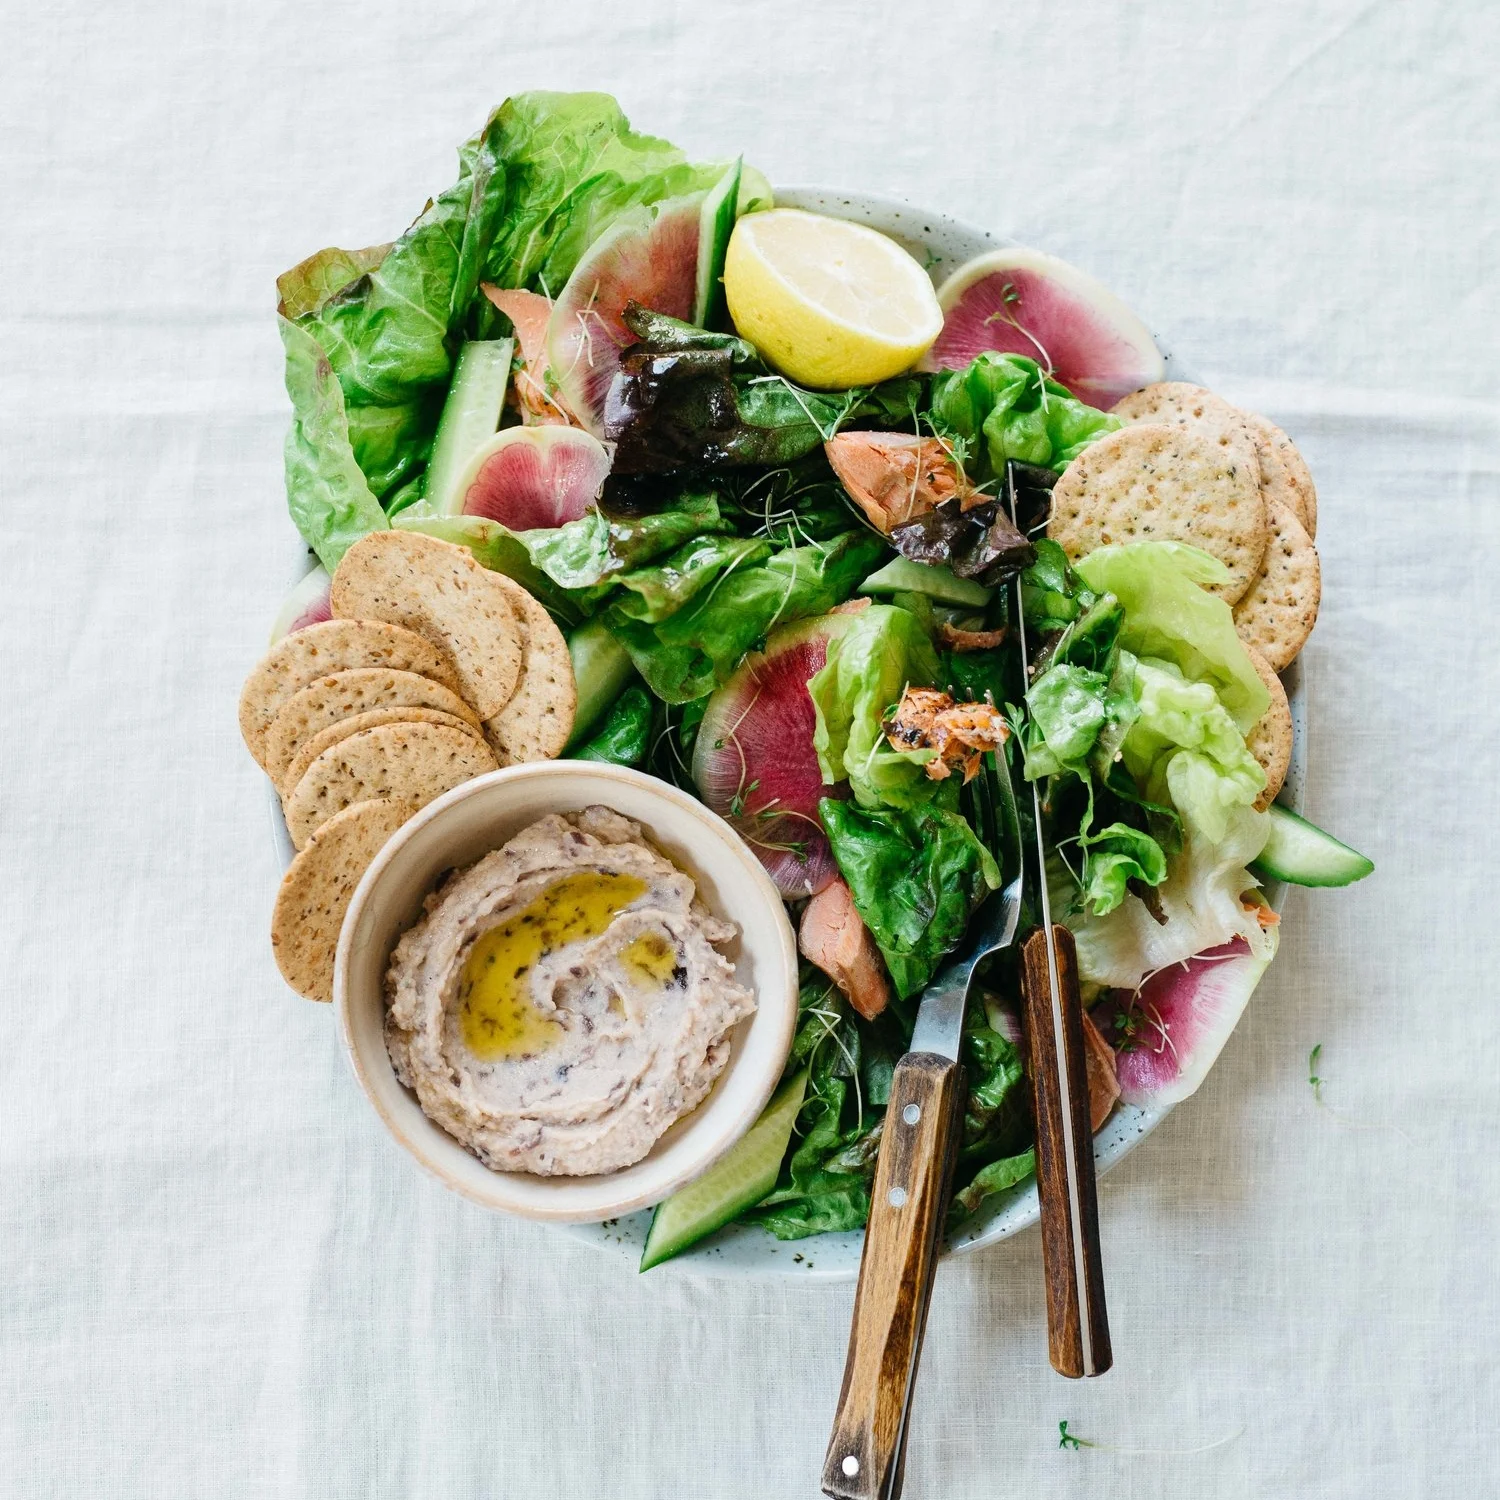
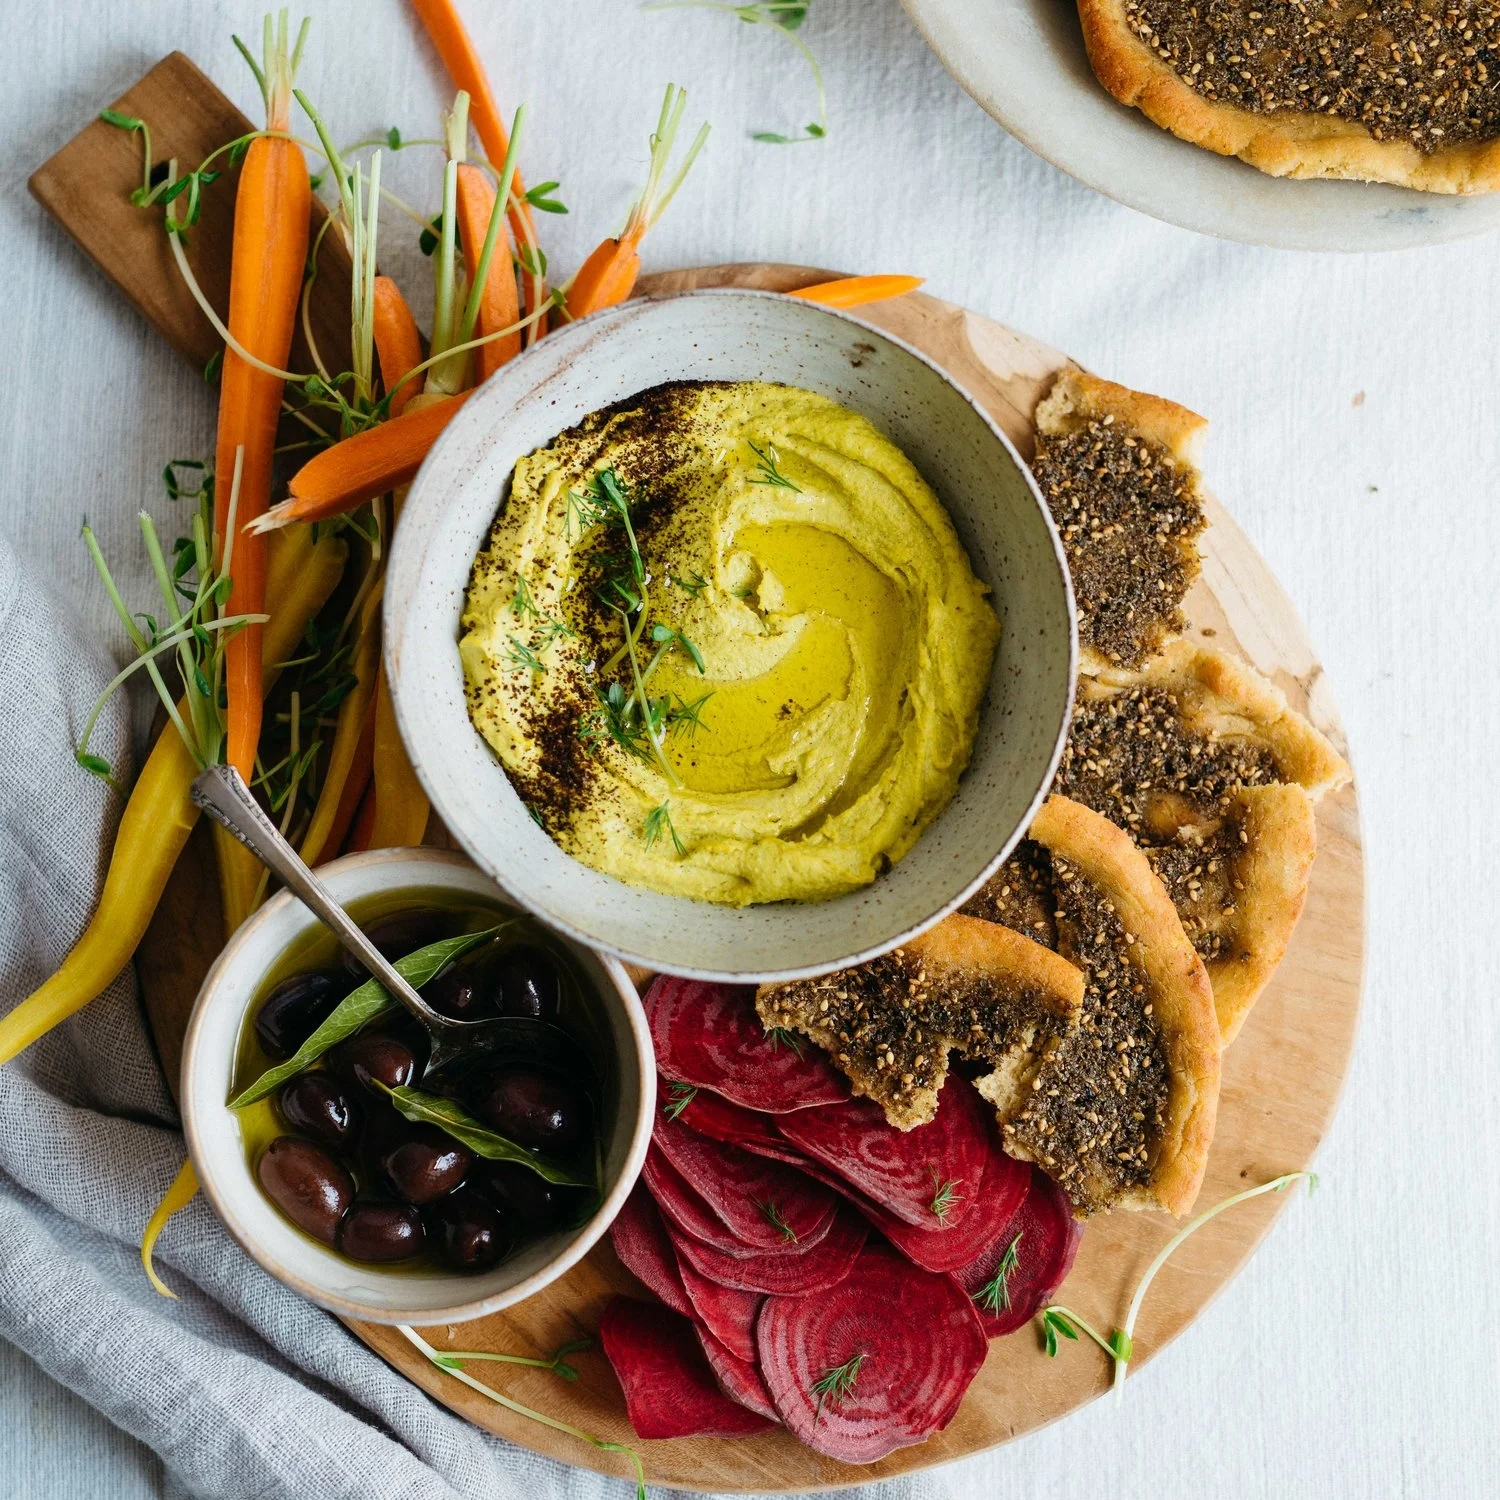
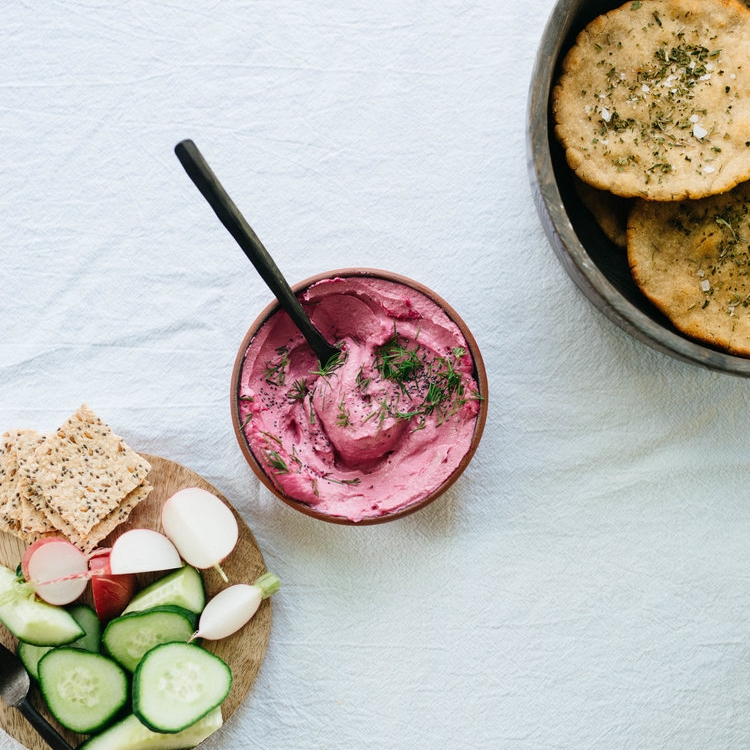
i will say, you do have to be a fan of sunflowers seed's flavor in order to enjoy this hummus.  i personally love it; it's nutty and full-bodied, and totally luscious.  a bit thicker than its chickpea hummus counterpart, but still fluffy and smooth like a good hummus should be.  i like sprinkling the top with za'atar, adding a glug of good quality extra virgin olive oil, as well a pinch of flaky sea salt.  you could definitely add your own toppings, or add a specific spice into the blending process that you prefer, but i try to refrain from taking too much flavor away from the lovely combination of flavors here.

favorite tahini brands: (most of these i was able to find in certain neighborhoods in brooklyn or nyc, but fortunately they're also available online as well :) . i also should note that i use tahini almost everyday, and therefore i store it at room temperature, which i prefer.  but if you use it less frequently, then i would suggest storing in the fridge.)

  1. beirut - my brooklyn go-to (but you apparently you can purchase it online, too)
  2. soom 
  3. seed + mill
  4. 365 - an everyday grocery store go-to
  5. al wadi
  6. roland 

big hummus-y hugs!! xo


sunflower seed & black garlic hummus

  • black garlic can be hard to come by.  if you can't find it, and you don't mind another step, roast a head of garlic and use 2-3 cloves. but if you don't want another step, simply use regular garlic

PRINT THE RECIPE!

| makes just over 2 cups hummus |

  • 1 cup raw sunflower seeds, soaked overnight (or at least 4 hours), drained and rinsed
  • 1/2 cup tahini
  • 2-3 tablespoons lemon juice (from 1 large lemon, or 2 small lemons)
  • 4 cloves black garlic cloves (or 2-3 cloves roasted garlic cloves, or 1-2 cloves regular garlic, roughly chopped) *see notes above
  • fine sea salt
  • fresh ground pepper
  • filtered water, to thin

optional garnishes:

  • za'atar
  • extra virgin olive oil
  • a pinch of flaky sea salt
  • herb flowers


method

  1. combine the seeds, tahini, 2 tablespoons lemon juice, garlic, salt (i start with about 1 teaspoon, and add more later if needed), a couple grinds of pepper, and 1/2 cup water in the container of a high-speed blender (if you don't have a blender, a food processor will do, but the hummus will not have a silky smooth texture).  whiz everything together on high, scraping down the sides of the blender as you go.  add more water as needed to get everything blended and smooth.
  2. once it's blended to your desired consistency (i tend to like it a bit on the thinner, silkier side), taste and adjust the salt, and lemon juice, if needed.
  3. scrape the hummus into an air-tight container and store in the refrigerator for up to 3-4 days.  
  4. serve with a sprinkle of za'atar, a swirl of olive oil, a pinch of flaky sea salt, and herb flowers to garnish. grilled or toasted bread is optional, but very much preferred ;)

similar recipes:


black beluga lentil hummus w/ roasted garlic & fennel

black beluga lentil hummus w/ roasted garlic & fennel

sunshine mung bean spread

sunshine mung bean spread

beet tahini dip

beet tahini dip

Wild Salmon W/ Pepita-Poblano Romesco Sauce by Lindsey | Dolly and Oatmeal


Advertisement

This is a sponsored post written by me on behalf of Nature Made. All opinions are 100% mine.

i was talking to my friend the other day about diet because she was telling me about some stomach pains she had been having the past few months.  we got onto a whole topic about the various diets that are out there, some informative, and some confusing.  it made me think a lot about my journey on this (seemingly) endless search and endeavor for well-being.  and i've come to realize over the years that this looks different for each individual. everyone comes to it with their own ideas and approach, their own background and history; but something that has always mattered to me personally, was if i was going to really look down the long lens of what "well being" was, is was going to be through a very holistic approach.

by holistic, i mean taking into consideration the whole body (the mind also very much included in this).  my first undertaking was by changing my diet; removing inflammatory foods, and generally making better decisions about what i was nourishing my body with.  but over the years that changed and shifted; i would gain knowledge in certain areas about what might be affecting me, but still not feel my best.   i started to notice a giant shift however, when i found out i was pregnant.  previously i had focused solely on diet, without taking into account the substantial impact that supplements can have when taken with a nutrient-dense diet.   

postpartum, i went through a whole slew of hormonal problems, some i'm still dealing with 19 months out.  a few months after having amesy, i stopped taking my prenatal vitamins - vitamin d, magnesium, and a probiotic - because i didn't think i really needed them anymore.  i should also mention i wasn't eating my best either.  i was starting the mornings with too much sugar, drinking coffee (which has always been a negative trigger for my system), eating way too many carbs at night, and dealing with the stress of moving across the country with a tiny baby.  it wasn't until amesy was about a year old that i finally sought the help of a holistic nutritionist here in los angeles.  

because vitamin d is synthesized by the skin when exposed to the sunlight during certain times of the day and year, i thought that if i was in the sun enough my source of vitamin d would be fine.  it turns out that's not really the case, and that vitamin d aids in the absorption of calcium, which impacts your bones, muscles, and your immune system.  so from there, my nutritionist suggested a few supplements to get me back on track, vitamin d and magnesium among them.   nature made vitamin d is my everyday go-to, it's a trusted partner that's devoted to supporting a healthy and wholesome lifestyle.  consuming a nutrient rich diet, while also supplementing with vitamins plays an important role in helping me to fill any gaps in feeling my best.

this dish is a little jazzed up, but for the blog, but it's something that i eat each and every week.  i try to balance my meals with healthy fats, greens and/or veggies, and nutrient rich protein.  i tend to stick to wild salmon when i can get it.  here, it's simply roasted with some oil, and salt and pepper.  the real gem of this dish is the green romesco sauce.  it's slightly spicy because there are poblano peppers at its' base.   it's pulsed with toasted pepitas, some garlic, oil, and vinegar.  what i love about this is that you cane make the sauce ahead of time, and cook and eat throughout the week with your preferred protein and this romesco sauce.  i could even see it being a lovely compliment to grilled veggies in the summertime.  

xo!

†These statements have not been approved by the Food and Drug Administration. These products are not intended to diagnose, treat, cure, or prevent any disease.


Roasted Salmon W/ Pepita & Poblano Romesco Sauce

  • the sauce is on the spicy side.  if you want to keep some heat, i suggest using 1 green bell pepper, and 1 poblano pepper.
  • additional protein options could be: roasted chicken, another fish fillet of your choice, cooked lentils, or cooked beans such as chickpeas.  
  • i served this salmon over some greens with sliced radish, olive oil, lime juice, and salt and pepper, but you could serve it alongside roasted veggies, any grains of your choosing, or as is.

print the recipe!

| 4 servings |

  • 2 poblano peppers
  • 1/2 cup parsley 
  • 1/4 cup toasted pepitas (pumpkin seeds)
  • 1 large garlic clove
  • 1 1/2 teaspoons apple cider vinegar
  • 1/4 cup extra-virgin olive oil
  • salt & fresh ground pepper
  • 1 pound salmon, preferably wild-caught, sockeye, or king
  • 1 tablespoon avocado oil, or another heat-tolerant oil

Visit Sponsors Site


method

  1. for the romesco. roast the pepper over a gas flame set to medium-low, rotating it with tongs until charred evenly - about 15 minutes (if you don't have a gas stove, you can broil it in your oven). place pepper in a boil and cover tightly with plastic wrap (this creates steam to help peel the skin).  once cool enough, cut the pepper and discard the stem and seeds, carefully peel the skin and discard.  run the peppers under water to remove any excess char; dry, and blend in a food processor with remaining ingredients.   season to taste with salt and pepper. place in a lidded jar in the refrigerator until ready to use (i like to make it a couple days in advance to let the flavors come together.)
  2. for the salmon. preheat oven to 450°F.
  3. rub salmon filet with the oil, and generously season both sides of it with salt and pepper. place the filet in a large baking dish. cook for 12-15 minutes, until the flesh is opaque, and mostly cooked through.
  4. let the salmon cool for 10 minutes.  then slice it into 4 portions and top it with the romesco sauce.

similar recipes:


pulled salmon salad w/ cauliflower-kalamata dip

pulled salmon salad w/ cauliflower-kalamata dip

hickory-smoked salmon skewers

hickory-smoked salmon skewers

spring green broth w/ soba noodles

Rhubarb Bars from "More With Less" (& a giveaway!) by Lindsey | Dolly and Oatmeal


it's finally rhubarb season, at least at the markets.  although, i know if we were back home in new york, in my mom's garden, the rhubarb stalks wouldn't be quite able to harvest yet.  maybe a couple more weeks and we could make strawberry rhubarb crumble, or this maple blue-barb jam with lemon verbena that would be shooting up just about everywhere.  every year, around mid-march, we would anxiously anticipate any and every little green spout shooting out of the soil.  it didn't matter whether is was a weed or an asparagus shoot - we honored it all the same.  this is the time of year where the nightly frost would subside, and it would be safe to plant more delicate flowers, plants, and vegetables.  it's quite the shift planting in here in los angeles though.  it seems as if growing season starts a lot earlier, of which i'm not prepared for!  we have a small garden space now that i can't wait to literally get my hands into, so hopefully i will bring you an update from on garden on this coast one day ;)

in the meantime, let's talk about these rhubarb bars, and the lovely book they hail from!  

because rhubarb is such a fibrous, stalk i had always been wary of eating rhubarb sliced and baked like this.  i never thought rhubarb would taste that great prepared like that, but it so does!  in fact, i think you really get an appreciation for rhubarb's bright, tart flavor in these simple, delicious bars.  the crust is made from a short list of 4 ingredients, and same goes for the almond-rhubarb, just 4 ingredients, plus the rhubarb.  there's little that i love more when a little desert comes together in quickly. 

this recipe comes from the beautiful pages of more with less, by jodi moreno.  i've been a fan of jodi's site for years.  her creative ways of paring flavors with mostly plant-based dishes, has always caught my attention.  and her photographs have always served to shine on a light on her beautiful work.  i've come back to jodi's book so many times since receiving it. it serves as such a lovely guide,  giving you the tools like sauces, dressings, toppings,  and other condiments to use throughout the recipes in her (visually stunning) book.  more with less is a book to constantly turn to for simple, flavorful recipes, and cooking inspiration.  

for the giveaway:

  • to enter: leave a comment below sharing your favorite thing about spring! 
  • giveaway closes monday, may, 14th at 5pm PST
  • one winner will be chosen at random to recieve a copy of more with less
  • open to US residents only (sorry international friends)

good luck! XO

**UPDATE: giveaway now closed**


rhubarb bars | v & gf

jodi notes that you can use a variety of fruits here if rhubarb isn't your thing, or if you can't find it.  notably, she mentions fruit such as berries or apples which sound great.  i could also imagine peaches or nectarines being wonderful as well.

recipe from more with less by jodi moreno

print the recipe!

| makes nine 3-inch bars |

crust

  • 1 cup oat flour
  • 1 cup brown rice flour
  • 1/2 cup maple syrup
  • 1/2 cup extra virgin olive oil
  • 1/4 teaspoon sea salt

almond rhubarb filling

  • 2 cups almond slivers
  • 2 tablespoons oat flour
  • 2/3 cup palm sugar
  • 1/2 cup extra virgin olive oil
  • 1/2 pound (6 large stalks) rhubarb, cut in half lengthwise


method

  1. preheat oven to 350°F. line the baking pan with two pieces of parchment paper, going in different directions, enough to come up and over each side (this will make them easy to remove).
  2. crust. in a large mixing bowl, add the oat flour, brown rice flour, maple syrup, olive oil, and salt, and stir to combine.  transfer the mixture to the parchment-lines pan and press evenly on all sides.  bake for 10 minutes, remove, and allow to cool slightly while you prepare the filling.
  3. almond rhubarb filling.  put the almonds on a baking sheet and toast in the oven for 5 to 10 minutes, until golden.  transfer the almonds to food processor and add the oat flour, sugar, and olive oil, and pulse several times until you have a course but consistent mixture.  spread the mixture evenly on top of the crust.  arrange the rhubarb on top, any way you like.
  4. return the pan to the oven and bake for another 30 to 35 minutes, until the rhubarb is soft and cooked through.  let the pan cool for at least 15 minutes before attempting to remove the bars and cutting into them.  once ready, lift the parchment out of the pan and transfer to a flat surface to cut the bars into squares.  the bars will keep for several days on the countertop in an airtight container.

similar recipes:


strawberry oat cacao muffins

strawberry oat cacao muffins

maple blue-barb jam w/ lemon verbena

maple blue-barb jam w/ lemon verbena

strawberry-rhubarb & olive oil chocolate cake w/ chocolate whip 

strawberry-rhubarb & olive oil chocolate cake w/ chocolate whip