snack

KABOCHA SQUASH TAHINI by Lindsey | Dolly and Oatmeal


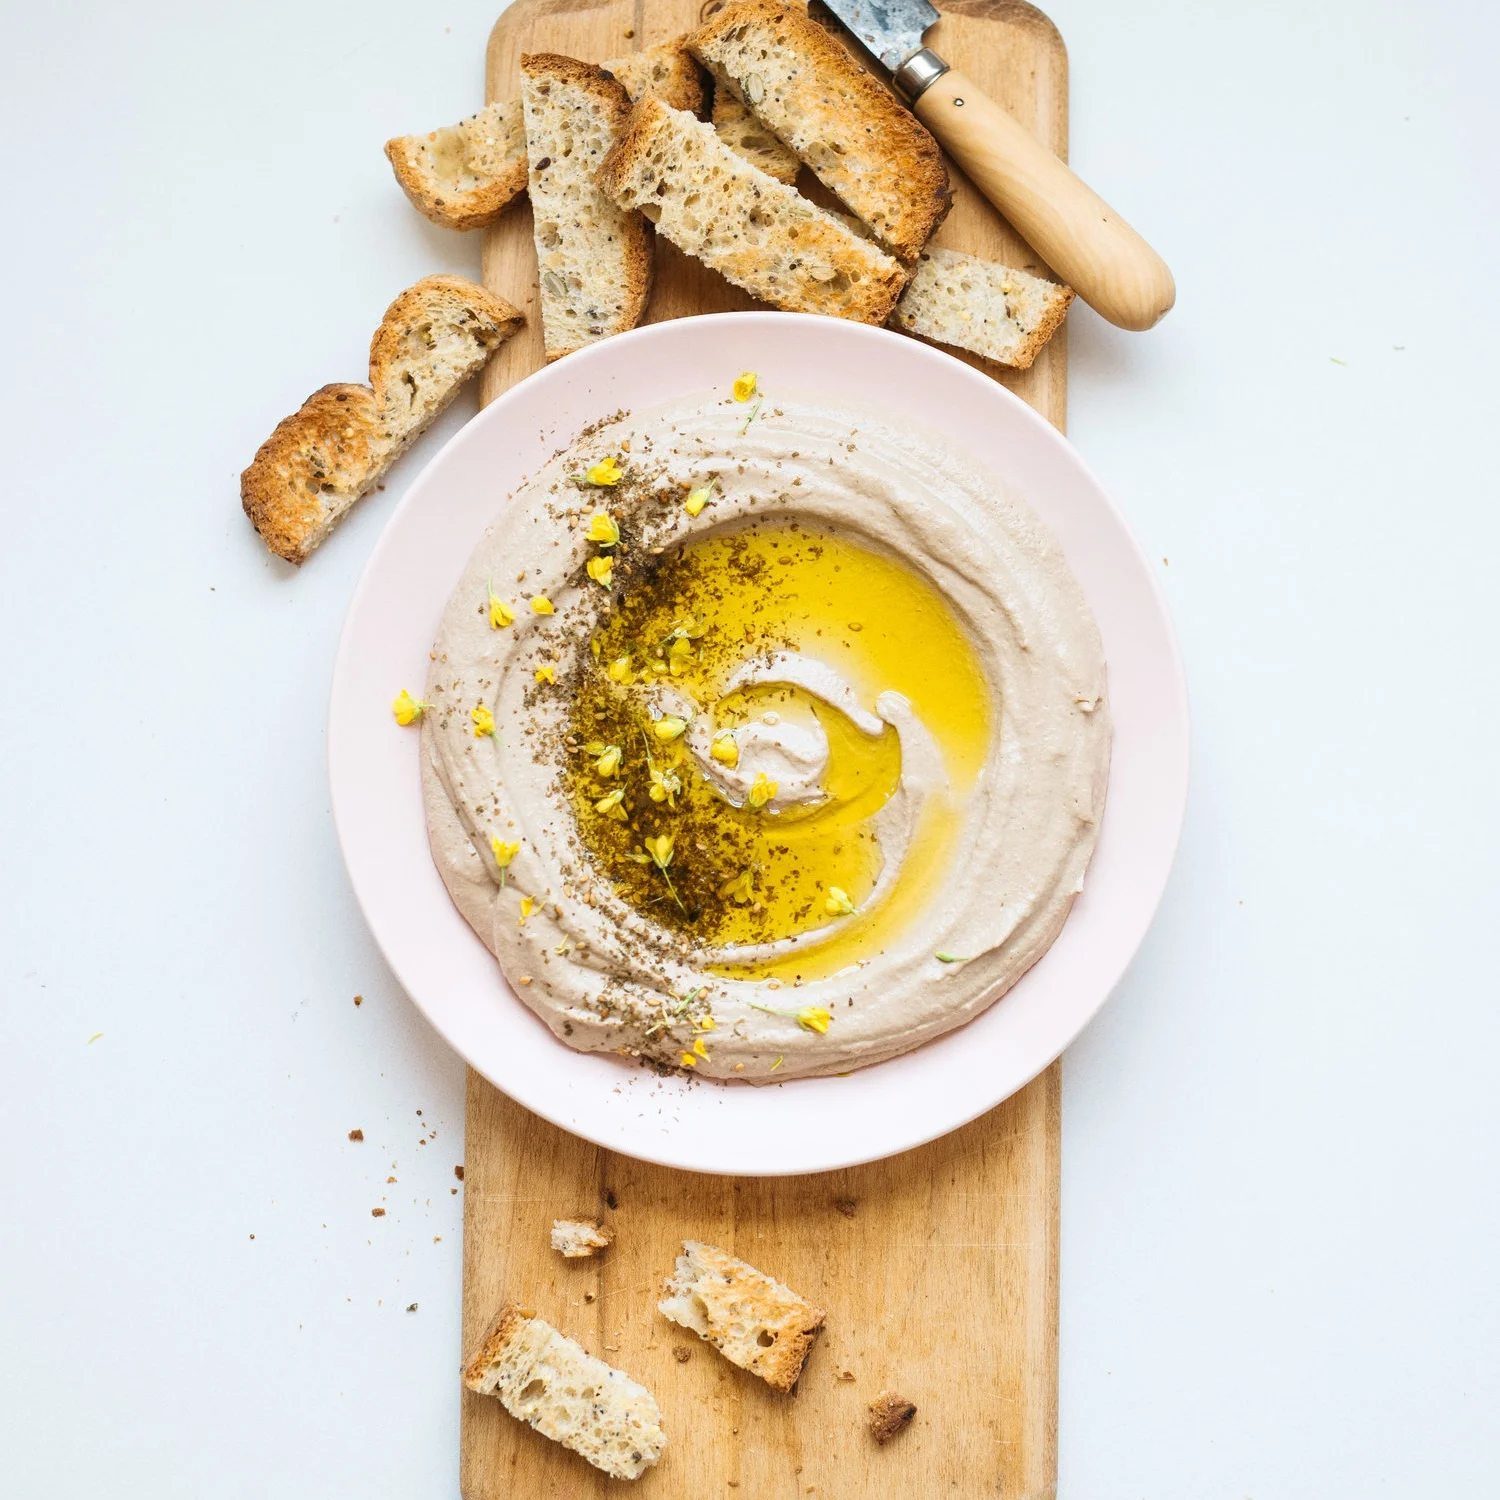
we’re coming in hot this week with this bean-less (!!) hummus! why bean-less? mostly because i can’t really do beans without severe stomach pains, but also because while i was on this bean-less hummus journey i found that a hummus without chickpeas can in fact taste like magic, AND have a similar whipped consistency to traditional hummus. hence, me sharing this recipe with you!

if you haven’t noticed around here, i loooove kabocha squash over all other winter squash. it’s slightly sweet and earthy, and has the most luscious texture, which lends itself so nicely to a fluffy, creamy hummus. all we did here was remove the chickpeas, and in its place, added roasted kabocha squash. all that’s added is a good bit of tahini (the more the merrier), lemon juice, garlic, some ground cumin, and some water to thin it all out some. it’s blended up in a food processor, and can stay in your fridge for up to 4 days. you can add just about any seasonings you like, whether that’s swapping in some smoked paprika for the cumin, maybe some roasted shallots for the garlic, or swapping the kabocha with another winter variety (although i do nudge you to give the kabocha squash a go if you can get your hands on one).

happy february, loves! xo


KABOCHA SQUASH TAHINI | v & gf

print the recipe!

kabocha squash is my preference here, but if you can’t easily access it, then using acorn, or butternut squash will be just as good. you could also use one medium-sized sweet potato as well.

| makes about 1 1/2 cups |

1/2 large kabocha squash, cut in half (or 1 small kabocha squash, cut in half

avocado or olive oil

1/3 cup tahini paste

1-2 tablespoons fresh lemon juice

2 garlic cloves

1/2 teaspoon ground cumin

salt & pepper

water, to thin

toppings:

toasted pumpkin seeds

extra virgin olive oil

thyme sprigs

rosemary sprigs


method

preheat oven to 400°F and line a baking sheet with parchment paper. oil the cut sides of the squash, and place cut side down. cook for 45 minutes - 1 hour, until it’s tender when pricked with a sharp knife. remove from the oven and let cool completely.

once cool, scoop the seeds and the stringy bits from the center of the squash and discard. then scoop out the flesh and place it into the cup of food processor fitted with a metal “s” blade. add the tahini, 1 tablespoon lemon juice, garlic, cumin, and salt & pepper. blend, drizzle in the water through the spout, a little at a time, scarping down the sides as you go, until you get a smooth consistency. taste and add more lemon juice, salt, pepper, spices, if need be.

scoop hummus into a large lidded container. store in the fridge for up to 4 days. once ready to serve, let it sit out at room temp for roughly 30 minutes. give it a good stir, then plate your hummus and top with a drizzle of olive oil, toasted pumpkin seeds, and fresh herbs. serve with crackers, fresh sliced veggies, or warm crusty bread :)

similar recipes:


beanless sunflower seed & black garlic hummus

beanless sunflower seed & black garlic hummus

spicy hummus fries

spicy hummus fries

DIY EVERYTHING BAGEL SEASONING by Lindsey | Dolly and Oatmeal


a few saturdays ago my dad came over in the morning to deliver amesy and frank some fresh made bagels from the farmers’ market. amesy loves bagels, i’m pretty sure they’re in a completely different food category in his mind. he prefers to eat his bagels (or any of his snacks) on the corner of our counter. he munches away until he’s finished and says some version of “down”, when he’s done. most times he’s content with the one mini bagel i allow him, and other times there’s quite the ordeal.

but, back to my dad’s bagel delivery! i was making brunch for frank and me the next day. he was having an everything bagel with his eggs, i was having half an avocado with mine. when i reached down into the bag for his bagel there were a few handfuls of extra everything bagel seasoning that i promptly showered my avocado with. i posted a simple photo of it on instagram and instagram stories and got quite a lot of feedback, mostly about how everything bagel seasoning is amazing (most people use trader joe’s “everything but the bagel” blend), and how much they love it too. but i also heard from people who don’t have a trader joe’s nearby, or international followers who don’t even have access to purchase it online. so i thought i would create my own version to live here for anyone needing or wanting this recipe to fall back on.

and to be honest, i actually prefer this homemade version better. i created my own ratio of blends, and used flaky sea salt instead of a finer grain salt. and because i generally use it as a seasoning, i added a note on toasting the seeds beforehand, giving it that toasted-like-a-bagel vibe. i hope this little pantry staple finds a place in your home.

happy sprinkling, loves!


diy everything bagel seasoning

print the recipe!

i love using this seasoning on sliced ripe avocados. it’s also a great seasoning for eggs, and i even used it to top savory scones which i highly recommend.

| make roughly 1/3 cup |

  • 2 tablespoons dried garlic

  • 2 tablespoons dried onion

  • 1 1/2 tablespoons white sesame seeds

  • 1 1/2 tablespoons poppy seeds

  • 2 teaspoons flaky sea salt (like maldon)


method

method 1 - non-toasted seeds

  1. place all the ingredients into a sealed jar and shake until it’s all mixed together! store at room temp for up to 1 month.

method 2 - toasted seeds

2. heat a cast iron skillet over medium-low. once hot, add the sesame seeds, shaking the pan, until toasted and golden. remove from heat and let cool completely. add the sesame seeds, along with the other ingredients to a sealed jar and shake until it’s mixed together. store at room temp for up to 1 month.


similar recipes:


pumpkin seed dukkah

pumpkin seed dukkah

PEPITA-COCONUT GRANOLA W/ MAPLE ROASTED PLUMS by Lindsey | Dolly and Oatmeal


to be honest september stumps me in terms of cooking. it’s the height of produce season where you get the wonderful overlap of late summer and early fall mixed into one, and it’s almost too much for my brain to compute! do you have the same problem? i get into a seasonal rhythm when i’m cooking breakfast, so when a new season comes along everything kinda gets thrown out the window. i’ve been having cold summer smoothies on heavy rotation, along with almond yogurt with summer berries and almond butter. i’ve also been making amesy pancakes loaded with sliced peaches and/or blueberries.

so whenever i think of shifting to september, when we want a hint of autumnal spice, but we’re not quite ready to go full throttle, i turn to granola. it’s the perfect conduit for touches of cozy that can paired with just about anything. i tend to go for grain-free granola mixes these days, but many-to-most, store-bought varieties tout their “soft & chewy” texture. not sure about you, but i’m team “hard & crunchy” when it comes to grain-free granola. so most times i just make my own.

this granola recipe pairs 2 of my favorite things: seeds and coconut flakes. coconut flakes are the vehicle here for ultimate flavor. when it’s mixed up and baked with a bit of sweetener, spices, and salt, it absorbs all that flavor delivering the most tasty granola. the roasted plums here were an afterthought, but so worth the little bit of time to make them. you just throw them together while the granola is cooling - easy-peasy. they add a perfect little touch of summer’s end.

happy september, sweet friends!


pepita-coconut granola w/ maple roasted plums | gf/v/grain-free

PRINT THE RECIPE!

| makes roughly 3 cups granola |

  • 2 cups coconut flakes

  • 1 cup raw pepitas (pumpkin seeds)

  • 1 cup chopped almonds

  • 3 tablespoons chia seeds

  • 1 teaspoon ground cinnamon

  • a couple pinches fine sea salt

  • 1/4 cup coconut nectar, maple syrup, or raw honey

  • 2 tablespoons melted coconut oil

  • 1 teaspoon pure vanilla extract

plums

  • 4 firm, but ripe plums, halved and pitted

  • 1 tablespoon maple syrup

  • 1 teaspoon melted coconut oil

  • pinch of salt

  • unsweetened plant-based yogurt or milk, for serving


method

  1. preheat oven to 325°F, and line a baking sheet with parchment.

  2. in a large bowl, mix together the coconut flakes, pepitas, almonds, chia seeds, cinnamon, and salt.

  3. in a small bowl, whisk together the coconut nectar, coconut oil, and vanilla extract. pour over dry ingredients. use a rubber spatula to mix the granola, making sure everything is mixed thoroughly and evenly.

  4. spread the granola evenly into the baking sheet, pushing it out into a flat layer. bake for 25-30 minutes, mixing it halfway through, until it’s lightly browned, and fragrant. (the color of the granola will also depend on what liquid sweetener you use. mine resulted in a darker color because i used coconut nectar.)

  5. let the granola cool, and raise the oven temperature to 400°F to roast the plums.

  6. line a baking sheet with parchment paper and toss the plums together with coconut oil, maple syrup, and salt. roast the plums cut side up for 25-30 minutes, until tender and juicy, and lightly browned around the edges. let cool for about 10 minutes.

  7. scoop your desired amount of yogurt into a bowl. top with a good bit of granola, and 1 or 2 plum halves; drizzle a bit of the plum juices around the bowl, and enjoy!

  8. store the granola in a sealed jar at room temperature for up to 2 weeks. store leftover plums and juices in a sealed container in the fridge for up to 1 week. reheat the plums or let them come to room temp before serving.


similar recipes:


GRANOLA ICE CREAM

GRANOLA ICE CREAM

SUPERFOOD GRANOLA W/ MACADAMIA-ALMOND MILK

SUPERFOOD GRANOLA W/ MACADAMIA-ALMOND MILK

PLUM & HAZELNUT TORTE

PLUM & HAZELNUT TORTE